Monitory Disconnect/Re-connect Issue
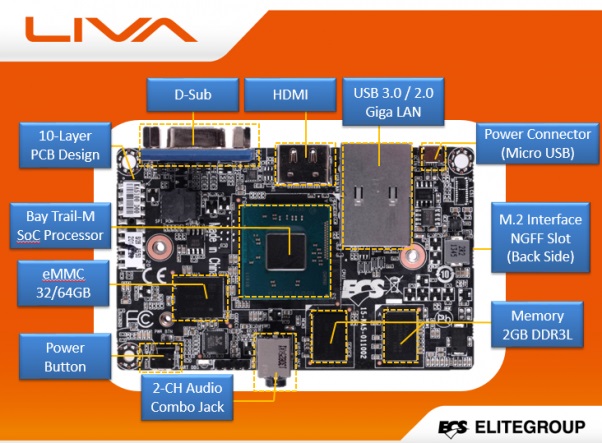
So when i first got the LIVA i was not impressed with it at all. It did not work as I expected it to and felt I got ripped off. Needless to say after figuring out a few tweaks those problems are now gone. Today i will show you the first one that is the most painful.
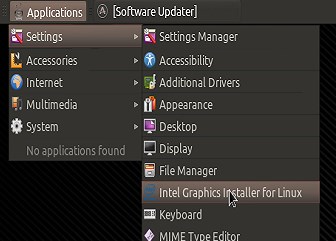
To give you some background, I have loaded the Intel Graphics driver fine according to Intel’s support page. the problem I ran into is that every time I turned my TV off the HDMI connection would drop and when I turned the TV back on it would show in the logs as reconnected but the TV would still show no input. After trying several different TV’s and Computer monitors I gave up for a few months. One nite i decided to look again and here is what i came up with for a solution.
- cd to the top of the filesystem ( / )
- Create a new monitor-hdmi.sh script
- sudo vi monitor-hdmi.sh
- Paste in the follow text. (don’t add the numbers 1-9)
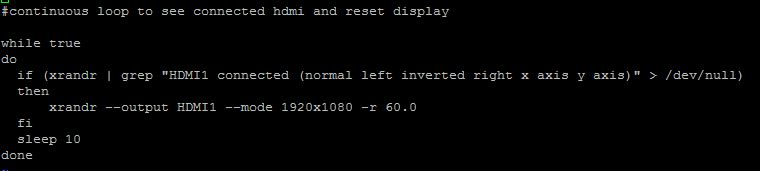
- #cont loop to see connected hdmi and reset display
- while true
- do
- if (xrandr | grep “HDMI1 connected (normal left inverted right x axis y axis)” > /dev/null)
- then
- xrandr –output HDMI1 –mode 1920×1080 -r 60.0
- fi
- sleep 10
- done
- Save the file and then “chmod +X monitor-hdmi.sh”
- additionally you need to set permissions with “chmod 777 monitor-hdmi.sh”
- If the monitor is not a 1080p monitor the resolution will change in step 2.2. for samsung 720p monitors its 1360×768
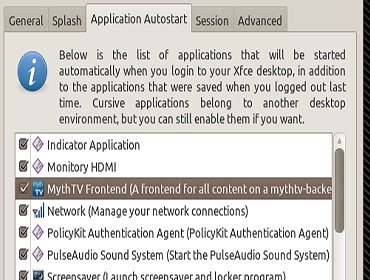
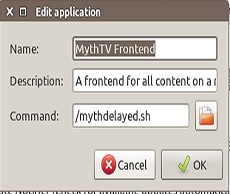
- Add the script to Session startup/App Autostart so that it starts at auto login.
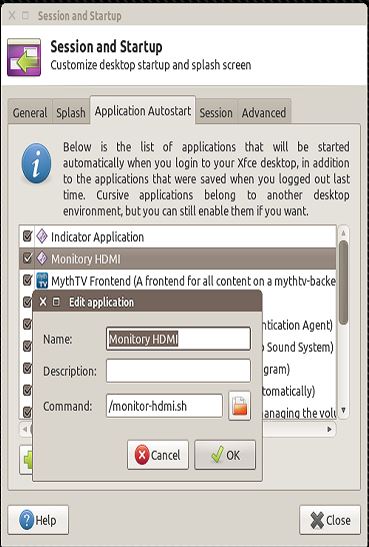
- Now reboot and when you turn off your tv and turn it back on it should reconnect and show the HDMI output.
ECS LIVA Setup Part 1
ECS LIVA Setup Part 2
ECS LIVA Setup Part 4
#cont loop to see connected hdmi and reset display
while true
do
if (xrandr | grep "HDMI1 connected (normal left inverted right x axis y axis)" > /dev/null)
then
xrandr --output HDMI1 --mode 1920x1080 -r 60.0
fi
sleep 10
done