Tag Archives: windows 8.1

Zotac Pico Thoughts

Zotac-Pico


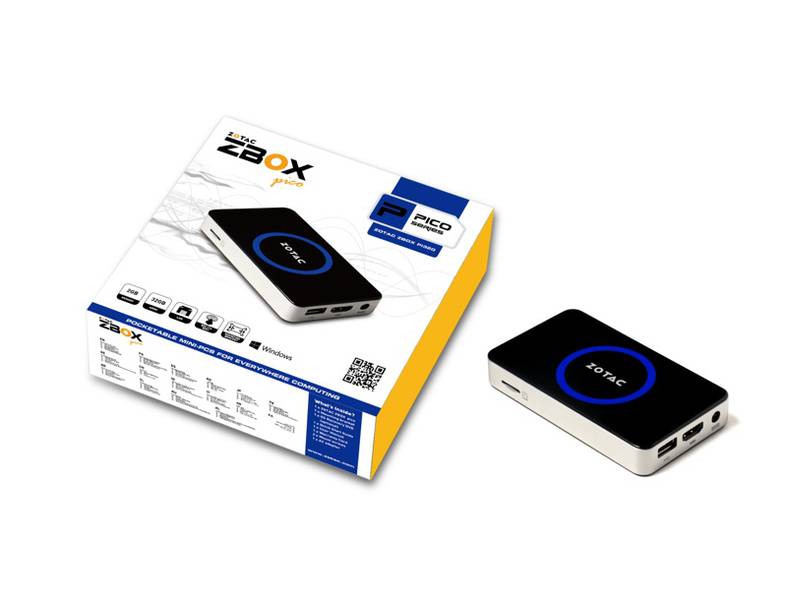
So a few months back I was really excited to see some Desktop PC’s come out using the BayTrail. In paticular I saw the Zotac Pico and the Minix z64 as pretty good starts to using ultra low power x86 SOC’s desktop computers. When the Pico became available I jumped on the chance to get one. What I learned is this thing is full of flaws.

  • Runs extremely hot. Especially on the silver side band
  • Supposed to have a SDP of 2.2w but under no circumstance does it get below 3.8w
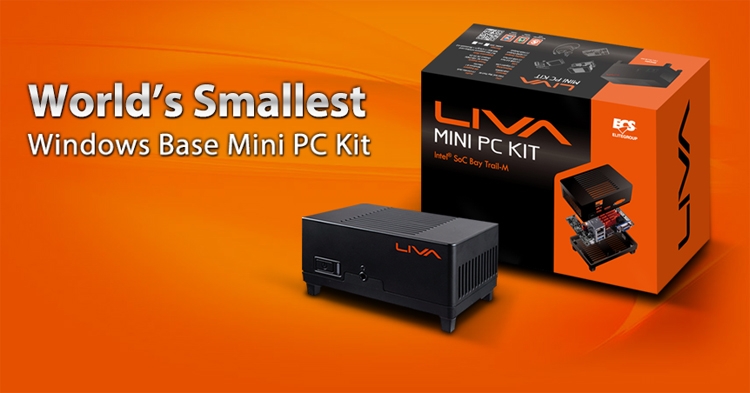
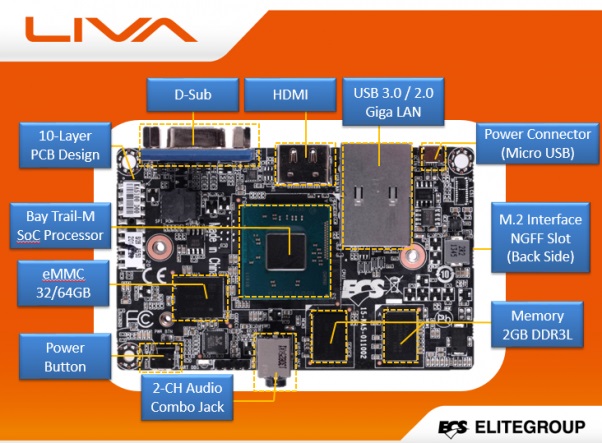
  • Running XBMC it uses 8watts of power??? That’s 3 watts more than the LIVA.
  • Even after turning off the Zotac case lighting, you still are in the high 6 watts.
  • Ethernet adapter is really a USB to ethernet adapter (HUH????)
  • Ethernet adapter does not work with linux, at least i couldnt find any drivers for the ethernet adapter
  • No USB 3.0, not a biggie but when your loading the OS, it makes things a lot quicker.

To my dismay, I sent this back for a refund. The Minix z64 is still in limbo and while the LIVA is only a dual-core cpu, it still handles all my MythTV requirements with little problem. I can play a H.264 DTS-MA video at 10mbit rate without any hiccups.  Hopefully when the Braswell platform comes out they will be able to address all the flaws and add in simple things like an ethernet port and stop trying to gimmick the public with “Scenario Design Power”.

ECS LIVA Setup Part 2

  1.  Download the Mythbuntu ISO
  2.  Format USB stick using the following settings for Rufus
    1. Make sure you load the ISO first and then check the settingsRufus-mythbuntu-USB
  3. Once the USB stick is done, boot the LIVA off of it and install Mythbuntu using the onscreen instructions.
  4. Install PackageKit so you can install the Intel Linux Graphics Installer.
    1.  Sudo apt-get install packagekit
  5.  Download the Intel Linux Graphics Installer.
  6.  Run the DEB file and wait for it to finish installing.
  7. After it has been installed, now you can actually download the drivers and have them configured. Find the Intel Graphics Installer in the menu like the screenshot below.Intel Graphics Installer for Linux
  8.  Run the installer and wait, this process takes some time and will likely prompt you for a reboot at the end and it won’t reboot so you will have to manually reboot.
  9.  I don’t use the wireless card that comes with the PC but if you want to us it, you have to do some funky stuff to make it work as it doesn’t work out of the box with mytbuntu (or any ubuntu version from what i hear). You can find more info about that here (steps 1-6).


This concludes Part 2, you should now have a fully functional ubuntu pc. Next part i will give you some stuff to tweak a few quirks with Intel and DHCP networking.

ECS LIVA Setup Part 1
ECS LIVA Setup Part 3
ECS LIVA Setup Part 4


ECS LIVA Setup Part 1

Introduction

Liva 1      I have had this PC since it came out in July and thought i should do a writeup to share my thoughts and how to set it up. ECS has managed to create a nice x86 PC where others have failed with a nice CPU, Video, and Price features. I run Mythbuntu on all 3 of my LIVA’s. I have tried Windows 8.1 on one of them and it does pretty well even though the LIVA only features 32GB hard drive and 2GB ram for the version I have.


ecs-liva-3         All versions of the LIVA are the same except for the hard drive storage which comes in 32GB and 64GB configurations.  Feature wise you will find all the latest and greatest connectors on this mini pc. The USB 3.0 connector is a welcome upgrade that you wont find on any of the BayTrail Tablet Chip offerings such as the Zotac Pico.  While I do like the fact it has a Gbit ethernet adapter on it, for the purpose of a MythTV frontend its not really needed. In the Next few posts I will show you how to install Mythbuntu and get it ready to watch movies and television.

ECS LIVA Setup Part 2
ECS LIVA Setup Part 3
ECS LIVA Setup Part 4